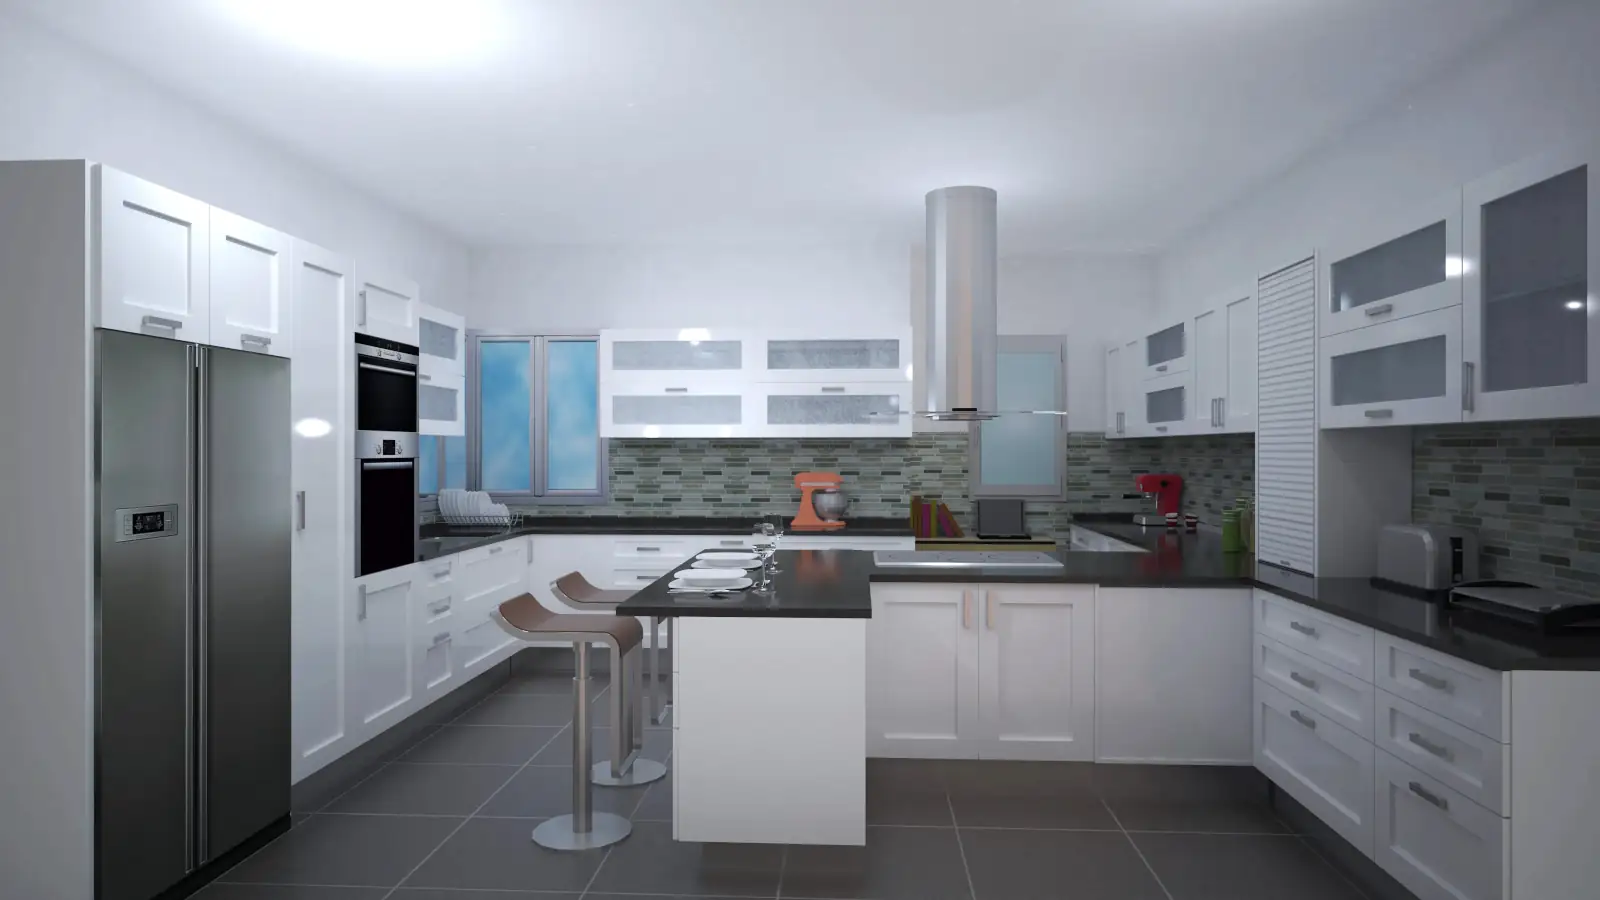
In this video, we will learn how to edit and assign materials to cabinets, countertops, accessories, appliances, walls, floors, and moldings in our Quick3DPlan design.
1. Access the Materials Tool
Photo tab → tools to edit materials
Editable elements: cabinets, countertops, accessories, appliances, walls, floors, and moldings
2. Change Materials of Cabinets and Doors
Select Cabinet Series button
Pop-up window → select door model and door material
Optional: enlarge images with double-click
Define body material, handle model, and countertop material
Apply to all cabinets checkbox is active by default → global changes
Deactivate the checkbox → changes only apply to the selected cabinet
3. Change Countertop Materials
Countertop Material tool
Select the desired finish → click OK
Note: only applies to cabinets with a predefined countertop
For countertops created from contours:
Furniture tab → Edit button next to Shaped Countertop
Select the countertop → choose material → click OK
4. Edit Materials of Multiple Cabinets at Once
Combined tool → allows modifying cabinets and linear units simultaneously
Apply to all cabinets checkbox → active for global changes, deactivated for individual changes
5. Copy Materials from One Cabinet to Another
Import from Cabinet button → select source cabinet → apply to the rest
Checkbox active → changes applied to all cabinets
6. Change Materials of Accessories
Select an accessory → open the editing dialog
Alternative: right-click → Accessory Material
Choose the part of the accessory to edit (e.g., seat, stool legs)
Repeat the process for all accessories of the same type
Note differences in complex accessories (e.g., lamps with multiple parts)
7. Edit Materials of Appliances
Appliance Material tool
Select the object → open dialog → choose materials for each part
Example: change material of a range hood
8. Change Wall Materials
Wall Material tool → open dialog → select material
Default settings: 0º angle, size 30×30 cm
Optional: modify angle and dimensions
Apply to all checkbox → active to apply to all walls
Example: white paint or green tile only on the back wall
9. Change Floor Materials
Floor Material tool → select material
Configure angle and dimensions (e.g., 45º and 50×50 cm)
Click OK → apply changes
10. Change Molding Materials
Molding Material tool → select baseboard and crown molding
Click OK → changes applied
Note: in this design, only the baseboard is applied
Note: These tools allow full control over the finishes of your design, for both global and individual changes, ensuring consistency and customization for all elements of the project.