In this video, we will learn how to create, save, and manage views and perspectives, show or hide elements, and save photos and plans of our designs.
1. Switch Between 2D and 3D Views
Use the View tools or the tabs in the lower-left corner
View 3D button → opens the last used 3D view
If there is no previous view, the top-down view will be displayed
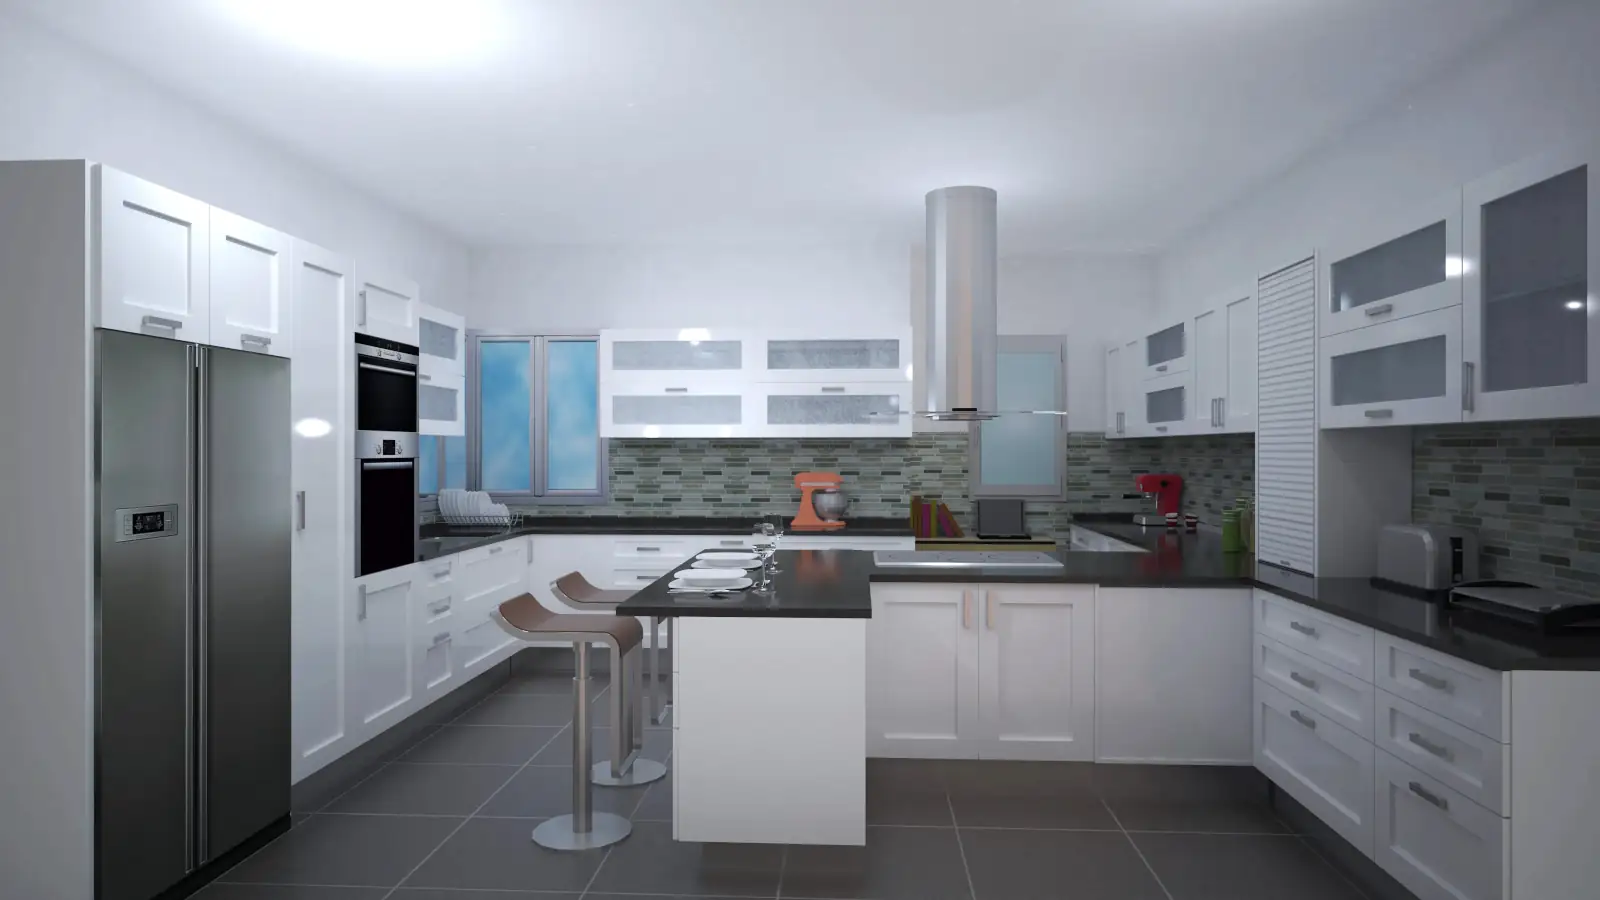
2. Create a Perspective View
Change 3D View tool
Click to place the camera → drag to indicate the viewing direction
Release the mouse → the perspective view is generated
Available adjustments:
Mouse wheel or Zoom buttons to zoom in/out
Pan the view by dragging or using the bottom-right controls
Modify perspective: hold the right mouse button and drag, or use the Float Up, Rotate Down, Left, or Right tools
Adjust control sensitivity and speed using the sensitivity bar
3. Save and Retrieve Views
Save Current View tool → assign a name and confirm
Retrieve saved views with Open Saved View
By default: four lateral views of the room
To delete views: select and use Delete
Home View button → returns to bird’s-eye view
Quick access buttons for Front, Back, Right, and Left views
4. Elevation Views
Elevation View tool → select a wall
Adjustments:
Dimensions are generated automatically (can move or delete)
Move a dimension: select, adjust the distance, and confirm
Delete a dimension: select and confirm
5. Floor Plan and Multiple Views
2D Plan tool → line view
Multiple Views tool → configure number of views (2 vertical, 2 horizontal, 3 or 4)
Assign names to the views in the right column (e.g., Top, Right, Perspective)
Result: visualize several perspectives simultaneously
6. Camera Adjustment and Locked Objects
If a black square appears → camera is behind furniture or a wall
Solution: hover over the object and move closer using the mouse wheel or zoom buttons
Perspective can be modified from any view
7. Show or Hide Objects
Show/Hide Objects tool → activate or deactivate the bulb for each element type
Example: hide countertops or cabinet doors to see the interior
8. Save Images and Plans
Projects tab → Save Image tool
Configure:
File name and location
Format: default .bmp, options for .png or .jpg
Saved image → accessible from your computer
Note: These tools provide full control over design visualization, making it easier to take screenshots, adjust framing, and customize perspectives before presentation or export.