This article explains how to use the Step‑by‑Step Wizard in the Architecture tab of Quick3DPlan to quickly and easily design a kitchen.
1. Start the Wizard
1.1 Open the Tool
Go to the Architecture tab
Click on the Step‑by‑Step Wizard button
A dialog will open that guides the kitchen design step by step
Step 1 – Room Type:
Select the desired shape
Click Next
2. Define Room Dimensions
Step 2 – Wall Dimensions:
Enter the measurements of the walls
The drawing is interactive and updates as values are changed
Measurements can be entered in:
Centimeters
Millimeters
Meters
Click Next
3. Number of Doors and Windows
Step 3 – Opening Configuration
Indicate how many doors and windows the kitchen will have (example: 1 door, 2 windows)
Configure Doors:
Select the wall where the door will be placed
Enter:
Distance from the left end of the wall
Door width
Door height
Centered on wall option → places the door in the middle
Configure Windows:
Select the wall and position relative to the left end
Enter width, height, and elevation from the floor
If there are multiple windows, use the tabs to configure each one
4. Select Walls to Furnish
Step 4 – Furnish Walls:
List of all available walls
Uncheck → no furniture will be placed
Check → walls will be automatically furnished according to the wizard
5. Configure Appliances and Rules
5.1 Define Automatic Rules
Click Rules to configure:
Type of cabinet end (terminal or side)
Equal width for upper and lower cabinets
Height of upper cabinets
Doors, glass doors, or combination of doors and drawers in lower cabinets
Select the appliances to place in the kitchen
Click Accept
6. Configure Corner Cabinets and Sink
6.1 Corner Cabinets
Corner 1 → base cabinet
Corner 2 → wall cabinet
Edited cabinet is highlighted in dark brown
6.2 Configure Sink Cabinet
Choose model (example: pot drawers)
Enter dimensions and wall where it will be placed
Use the Position tool or Center under window to place it precisely
Configure sink and faucet model
6.3 Other Appliances
Dishwasher → select model and position relative to sink
Cooktop → choose model and wall position
Oven → select model
Hood → located above cooktop; only the model can be changed
7. Column Cabinets and Refrigerator
Select the model and wall where it will be placed
Adjust exact position
Configure built-in oven and microwave if applicable
Select refrigerator model
8. Finish Design
Click Finish
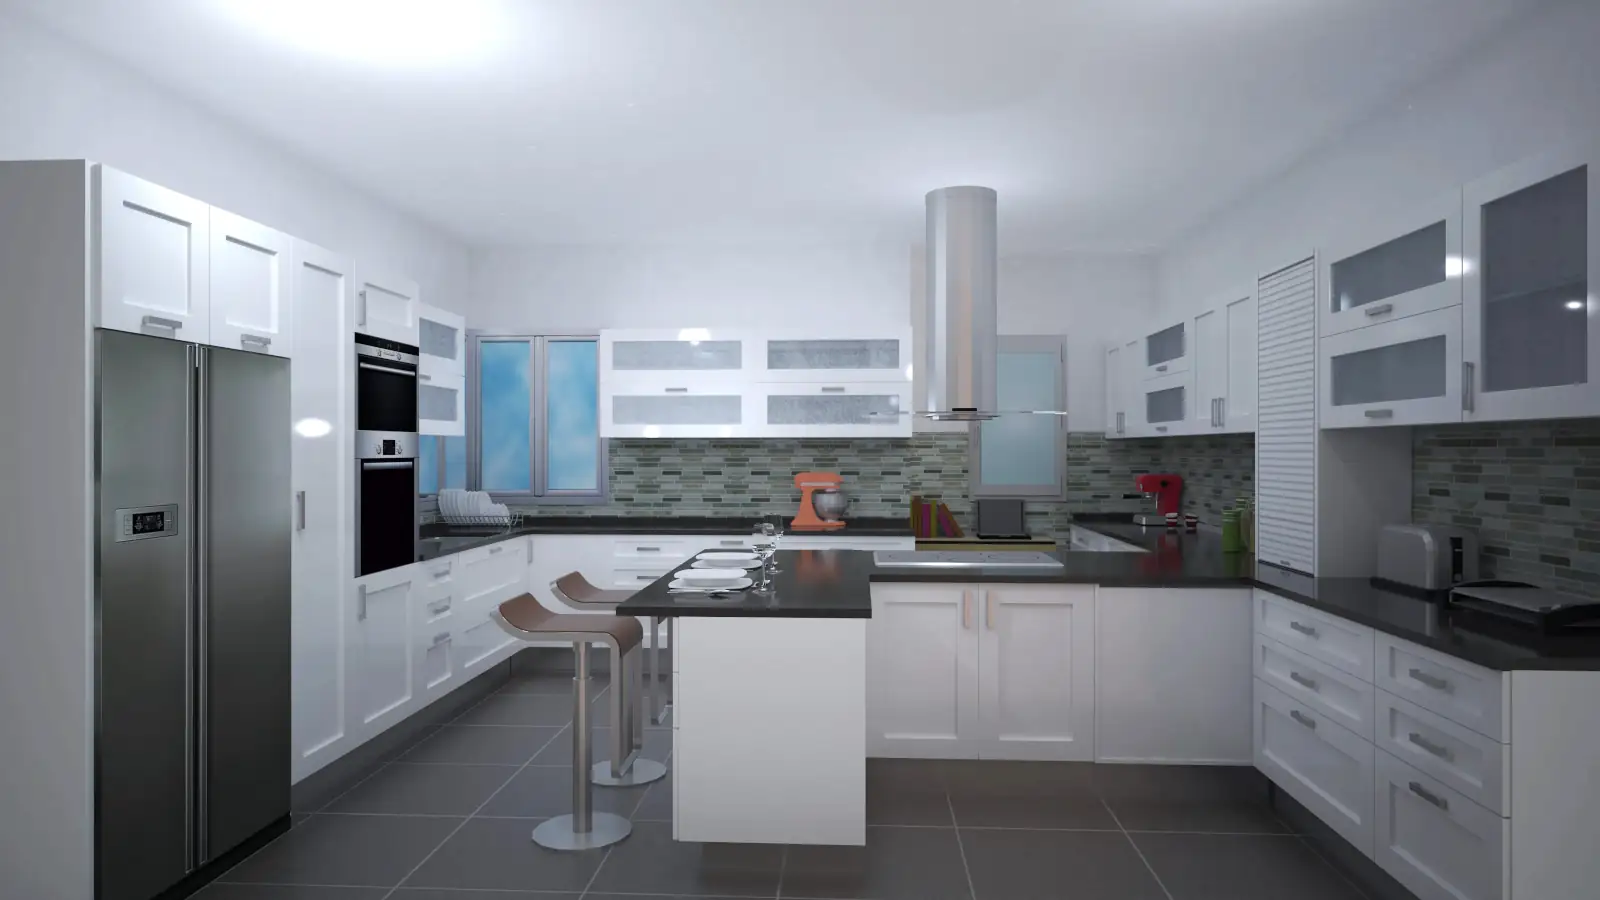
The design will appear automatically on the screen
Quick3DPlan fills gaps with standard cabinets following the rules you defined
Note:
The Step‑by‑Step Wizard is a fast starting point to create your kitchen. From this initial design, cabinets and appliances can be further edited and adjusted to achieve the desired result.