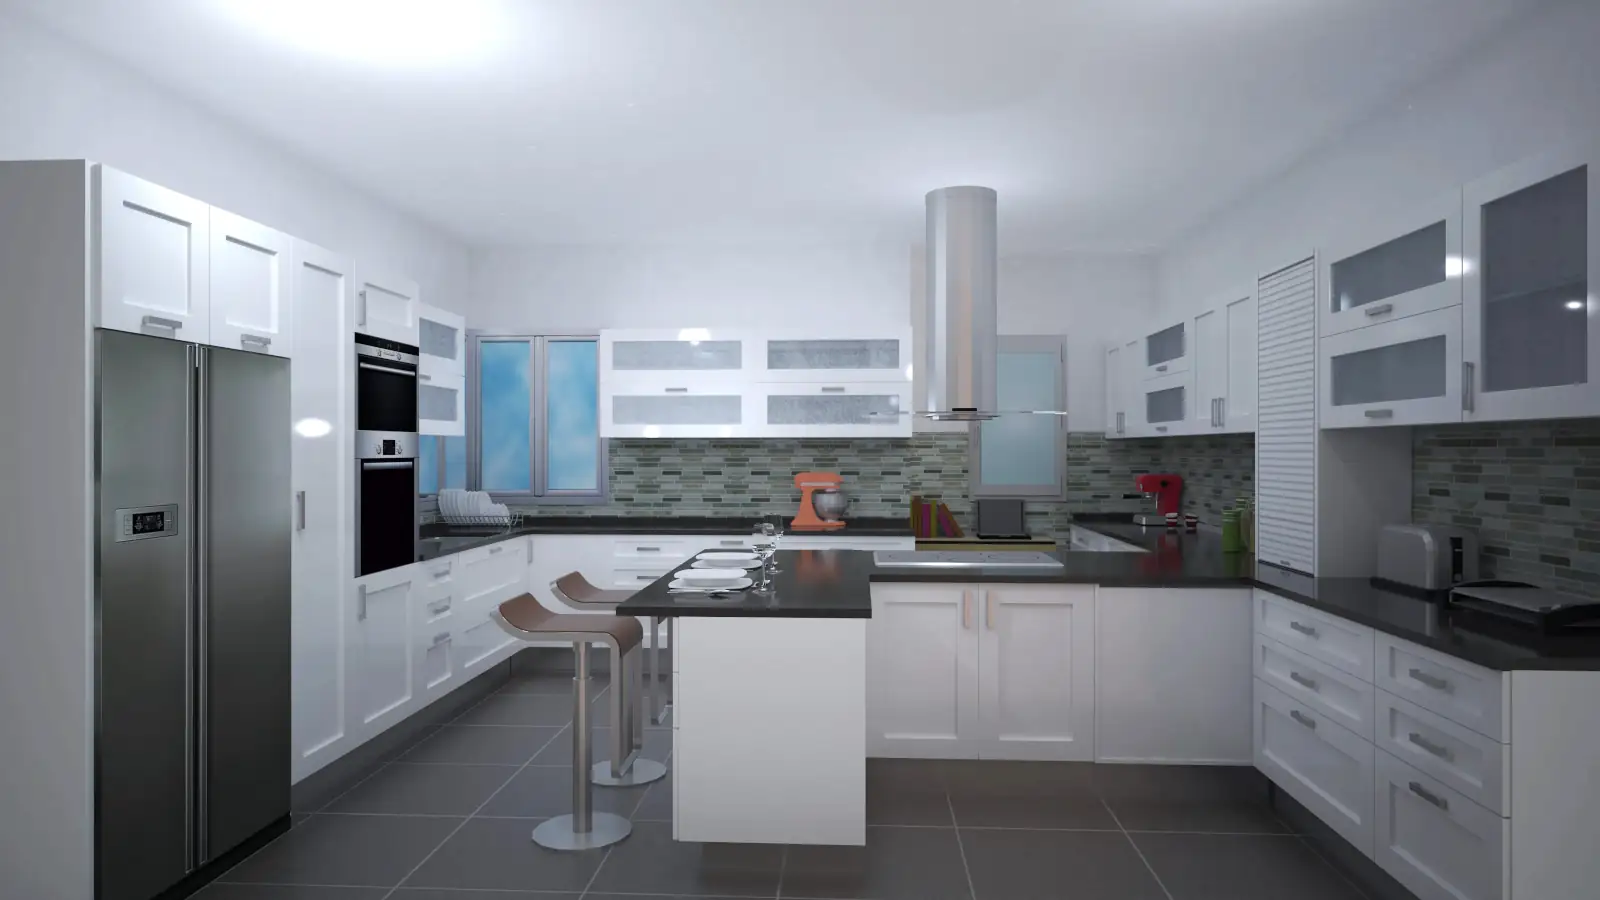
This article explains how to add accessories in Quick3DPlan from the Furnishing tab, with options for manual or automatic insertion, and how to edit their dimensions and position.
1. “Add Accessories” Tool
1.1 Open the Accessories Dialog
Go to the Furnishing tab
Select the Accessories tool
Click the button → a dialog similar to the appliances dialog will open
1.2 Selection Dialog
First column → type of accessory
Second level → subtype of accessory (tables, coffee tables, chairs, stools, sofas, etc.)
Third level → available models based on levels 1 and 2
Bottom → accessory dimensions
Thumbnails → click the image to see all available models
Double‑click → enlarge the image
1.3 Confirm Selection
Once the accessory is chosen → click Accept
2. Inserting Accessories
2.1 Manual Insertion
Click the manual insertion button
Drag the accessory to the desired position
Press Space → rotate the accessory to adapt it to walls or other elements
Left‑click → place the accessory
2.2 Automatic Insertion
Select a reference element
The new accessory will be placed to the left or right of the selected element
Use red or blue arrows → adjust position precisely
The reference automatically updates to the last inserted accessory
3. Editing Accessories
3.1 Edit by Double‑Click
Double‑click the accessory → opens the edit dialog
Modify dimensions, model, or position
3.2 Edit Using the “Edit” Tool
Select the Edit tool from the top bar
Indicate which accessory to modify → dialog opens
Change dimensions, for example, width and depth of a table
3.3 Reinsertion and Repositioning
Click Insert to place the modified accessory
Drag to adjust its position
4. Inserting Multiple Accessories
4.1 Insert Several Identical Accessories
Check the Multiple box before inserting
First accessory → placed normally
The next will be inserted automatically on the screen
Press Space → rotate the accessory if needed
Press Escape → finish multiple insertion
Example:
Central table → reposition and adjust size
Insert four chairs around it using the Multiple checkbox
Note:
The Accessories tool allows precise management of the location, size, and orientation of all decorative or auxiliary furniture items, both manually and automatically, ensuring a realistic and functional design.