Quick3DPlan – Location and Function of the Tools
Overview
This article explains where the Quick3DPlan tools are located and how its workspace functions. It details all the program’s tabs and the main features of each one.
1. Workspace in Quick3DPlan
Where is the workspace located?
The workspace is located in the central part of the screen.
This is where the design being created or edited is displayed.
How is the camera controlled?
The tools located on the right and bottom sides allow you to move and control the camera with greater precision than using the mouse directly on the design.
How to switch between 2D and 3D view?
In the lower-left area, you can quickly switch between:
- 2D View
- 3D View
How to lock furniture?
In the upper-right area, furniture can be locked to prevent accidental modifications.
2. “Projects” Tab in Quick3DPlan
The Projects tab allows you to manage files and general settings.
Main functions:
- Create and manage projects
- Print:
- Images
- Plans
- Item lists
- Save images for later editing
- Generate a complete list of the furniture used
- Adjust program preferences:
- Auto-save interval
- Language
- Working units
Other tools within Projects:
- Change colors in 2D representation
- Add notes to the design
- Open files:
- Auto-saved files
- Quick3DPlan Mobile
- Auto Kitchen Express 2
- Access recent files
- Access the store and subscriptions
3. “Architecture” Tab in Quick3DPlan
The Architecture tab includes tools for designing the structure of the room.
Available tools:
- Walls
- Partitions
- Columns
- Wall openings
- Doors
- Windows
- Moldings
It also includes a step-by-step assistance tool to guide the design process.
4. “Furniture” Tab in Quick3DPlan
This tab allows you to manage all interior elements of the design.
Actions available:
- Add furniture
- Move furniture
- Delete furniture
- Modify furniture
- Insert appliances
- Add accessories
- Create wardrobes
- Design shaped countertops
5. “Texts and Outlines” Tab
This tab allows you to add graphic elements and annotations to the plan.
Options available:
- Insert texts
- Modify texts
- Delete texts
- Add outlines
- Insert arrows
- Add dimensions
- Delete dimensions
6. “View” Tab in Quick3DPlan
This tab allows you to control the visualization of the design.
Main functions:
- Switch to 3D view
- Return to the initial view
- Select views:
- Front
- Back
- Right
- Left
- Save custom views
- Toggle between:
- Elevation view
- 2D plan
- Configure multiple views simultaneously
- Show or hide specific objects
7. “Photos” Tab in Quick3DPlan
This tab allows you to configure materials and lighting and generate realistic images.
Material configuration:
- Furniture
- Countertops
- Accessories
- Appliances
- Walls
- Floors
- Moldings
Lighting:
- Light settings
- Shadow settings
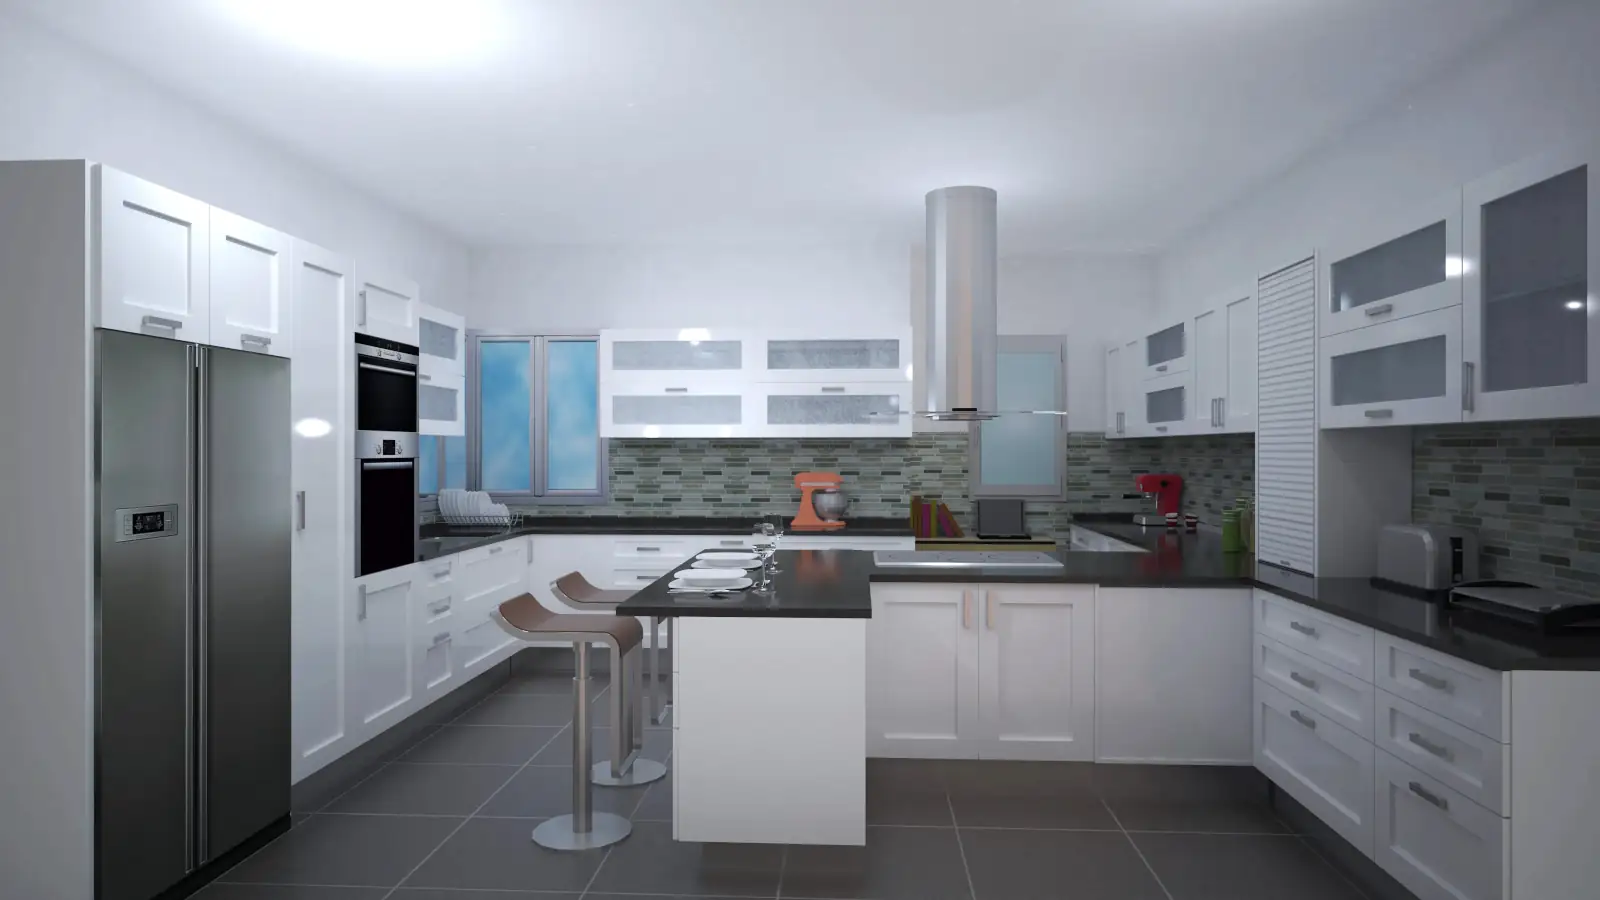
Generate a realistic image:
With the “Photo” tool, you can create a rendered image of the design.
8. “Help” Tab
Includes:
- Access to the program help
- Links to tutorial videos
- Legal information in “About Quick3DPlan”
Final Note
Each Quick3DPlan tool is explained in detail in its corresponding tutorial videos.